Difference between revisions of "Import Location Table Exchange Format"
| Line 11: | Line 11: | ||
'''Database file''' | '''Database file''' | ||
| − | :Here | + | :Here you need to define the database where the Location Table file can be imported to. |
:Type in a complete file path to or browse for an existing and empty Firebird database (*.fdb) using the [[file:button_folder.png|alt=|link=]] '''Folder''' button on the right of the text field. The FDB-file may be placed either locally or on a database server. | :Type in a complete file path to or browse for an existing and empty Firebird database (*.fdb) using the [[file:button_folder.png|alt=|link=]] '''Folder''' button on the right of the text field. The FDB-file may be placed either locally or on a database server. | ||
Revision as of 08:41, 8 May 2012
![]()
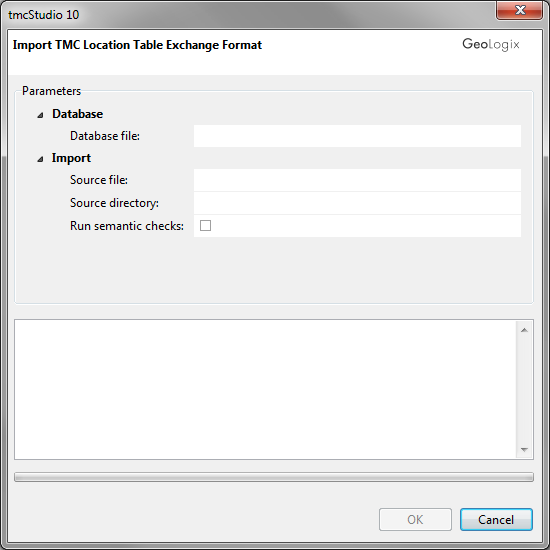
The Import location table exchange format button opens the corresponding window:

In the window, fill in all fields according to the instructions below to import a Location Table.
Database file
- Here you need to define the database where the Location Table file can be imported to.
- Type in a complete file path to or browse for an existing and empty Firebird database (*.fdb) using the
 Folder button on the right of the text field. The FDB-file may be placed either locally or on a database server.
Source file
- Browse for the Location Table (ZIP-File, *.zip) you are about to import.
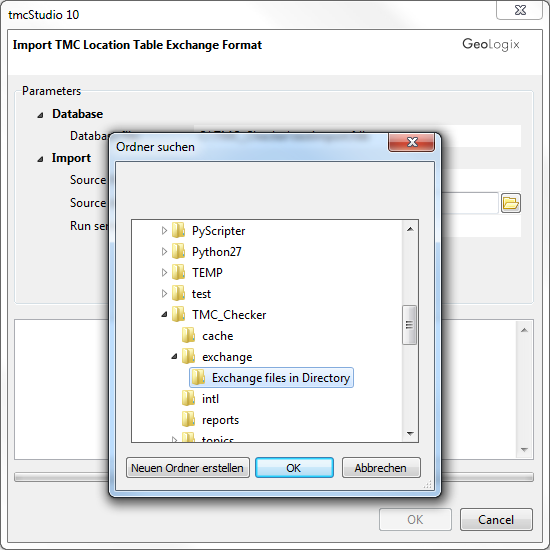
Source directory
- Choose the folder Exchange files in Directory.

And lastly, the function Run semantic checks has to be activated.
![]()
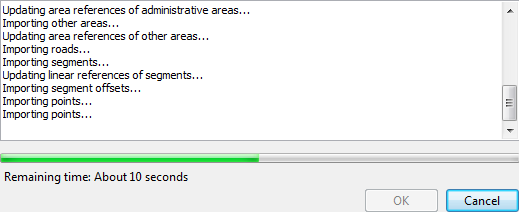
Now the wanted data are imported, created and checked. This step may take some seconds.

When finished, due to the activation of the semantic check the codes with errors are shown.
To see them directly, Show Only Checks Containing Errors can be clicked.
