Difference between revisions of "Edit topic file"
(→Feature) |
(→Feature) |
||
| Line 96: | Line 96: | ||
'''Description''' | '''Description''' | ||
| + | |||
| + | If the name of the attribute is not clear, an alternative description can be entered here. Any text entered here will be displayed in the window 'Topic Information'. | ||
| + | |||
| + | '''Unit''' | ||
| + | |||
| + | Here you can enter the unit of the attribute (f.ex. cm, litre, kg etc.). | ||
Revision as of 11:50, 6 December 2013
Topics → ![]()
Contents
General
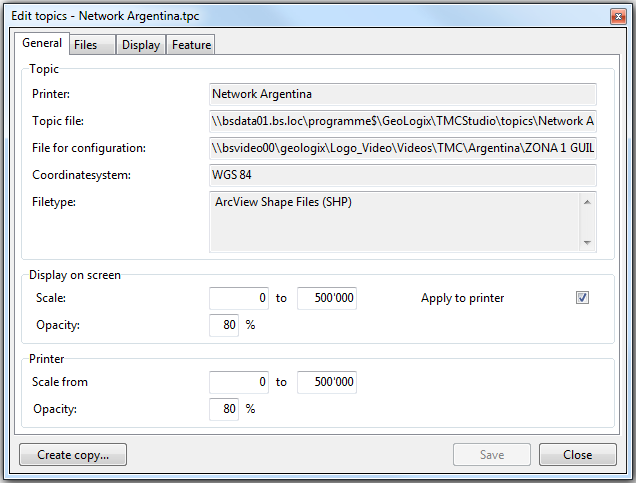
The window general contains the name, the location of the topic file and the file for configuration, the coordinate system used and the filetype.
Scale determines the range within which the data of the topic file is visible on the map. With opacity you can determine how well the data should be visible.
It is adviseable to use the same settings for screen and printer (this can be done by ticking the box apply for printer). This way a printout will look the same as displayed onscreen. Alternatively the box can be left unticked and settings for the printer can be set individually.
Files
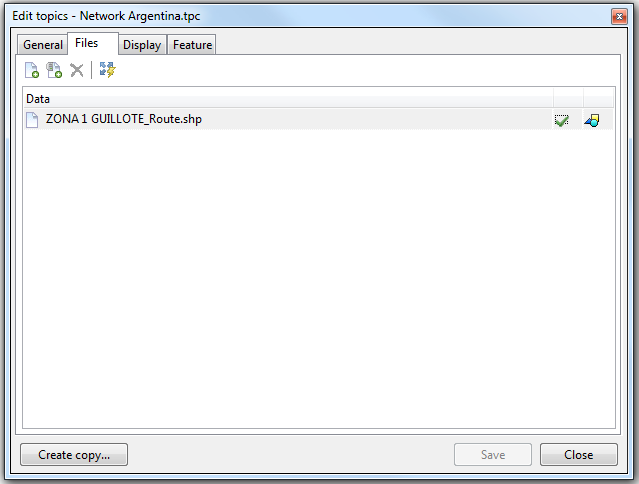
The window files contains the individual files containing the information of the corresponding topic. In this window files can be added or deleted. The extent of these files can also be calculated here.
This button is used to add geodata from one or several files to the topic.
This button is used to add geodatalayers that are provided by a WMS- or SDE-server.
Deletes the currently selected file or layer.
Clicking this button determines the geographical extent of the file based on the integrated georeference. This helps TMC Studio load and display the data more quickly. Files whose extent has been been calculated are displayed with a green tick ![]() .
.
Display
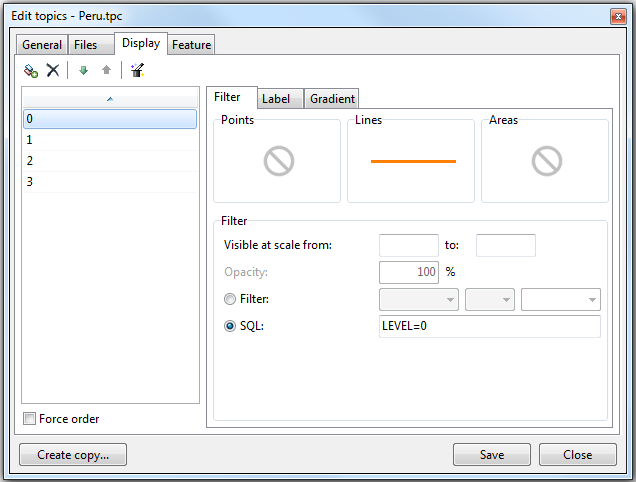
The appearance of the Display window depends on the data that is being processed. The data in question will usually either be raster- or vector data.
Raster data
Here you can
- adjust the RGB-values
- brighness & contrast
- ...
- choose to set certain colours to transparent
- choose form a set of prdefined settings
Vector data
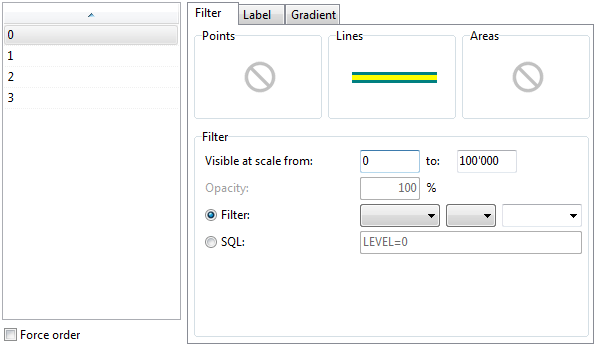
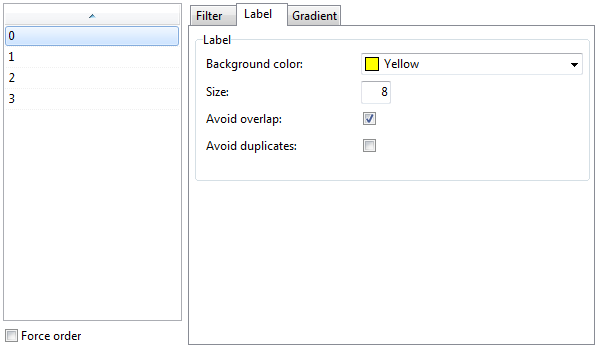
Vector data - Filter
Vector data - Label
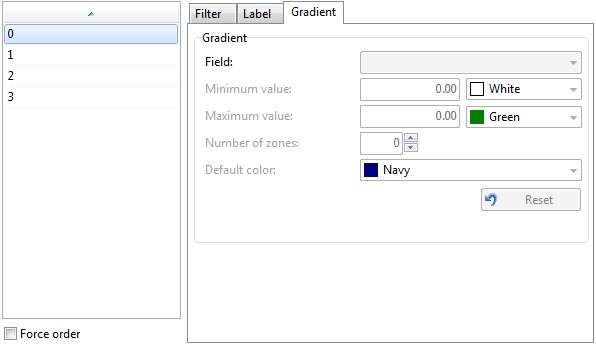
Vector data - Gradient
Feature
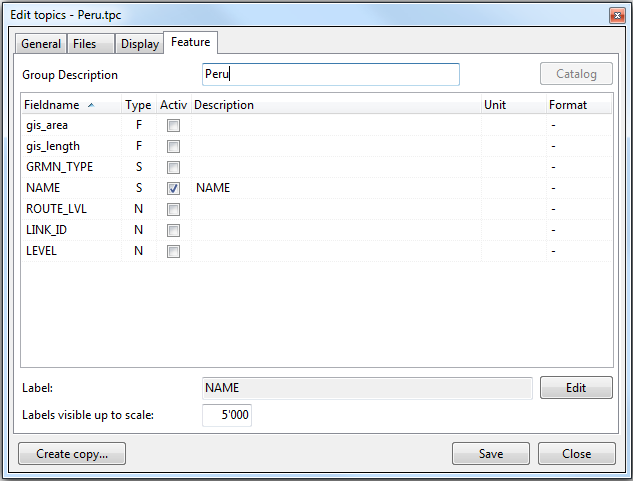
In the window feature you can decide which information is diplayed in the window Topic Information and choose which attributes are used as lables.
Fieldname
This column contains the names of all the attributes in the attached geodata.
Type
Describes the fieldtype of the corresponding attribute field. S = string (textfield); N = numeric (field for integral numbers); F = floating (field for numbers with commas); D = date
Active
For an attribute to be displayed in the window Topic Information, the corresponding box needs to be ticked. In the given example, only NAME would be displayed.
Description
If the name of the attribute is not clear, an alternative description can be entered here. Any text entered here will be displayed in the window 'Topic Information'.
Unit
Here you can enter the unit of the attribute (f.ex. cm, litre, kg etc.).
